
PLEASE READ THE GUIDE BELOW BEFORE TURNING ANYTHING ON
IMPORTANT NOTES:
- The PC ships separately from the cabinet. We manually email cabinet tracking, while PC tracking is sent by our automated system.
- The keys can be found in the coin slot.
- The game discs are for backup purposes only and already loaded on the PC, you can simply store them inside the cabinet.
- You will be connecting a total of 3 USB cables to the PC, a power cord, a monitor cable, and an audio cable. If your PC only has 3 USB ports on the back, there are 2 more on the front (behind a door on some models). The Purple round PS/2 connectors are not used!
- The green/white cable is not needed (for connecting coin door only), simply store it in the cabinet.
- The X-Arcade Tankstick manual is a general manual for using the control panel itself, as it uses the same electronics.
WARNING: Do not turn off the cabinet power without first turning off the PC properly by simply tapping (do not hold) the power button on the front of the PC.
The PC is shipped separately from the cabinet, here is how to get things up and running.
Initial Setup:
- Open the front door and place the PC, keyboard, and mouse in the bottom section of the cabinet.
- The controls, audio, and VGA video cables are already waiting inside near the PC. Connect the 3 USB connections (for keyboard, mouse, and control panel) into the back of the PC. (The round purple PS/2 connectors are not used.)
- Connect the blue VGA monitor cable to the back of the PC and lightly tighten the 2 hand-screws on it.
- Connect the green/black headphone cable into the green headphone jack on the back of the PC (typically the center port).
- Plug one end of the power cable that came with the PC into the back of the PC, and the other end into the white power strip.
- Connect the other power cable between the cabinet and your wall socket, then turn on the power switch on the back of the cabinet and the power strip if needed. A surge protector is recommended which will also give you an easier way to power on/off the cabinet without having to get behind it.
- Power on the PC and wait for it to fully boot. The screen will go black on the first boot for a few minutes while it scans the games for the first time.
Basic Operation:
IMPORTANT: If the light on the top-right of the control panel is not lit, it will not work. Be sure all of the USB connections are connected, move them around to other ports if you have trouble.
- To choose a game, first pick which system you want to play using the joystick, then press the Player 1 Start button (white button with 1 man). Also use the joystick to scroll the list of games and press Start again to start one.
- After you start up an Arcade game (MAME menu), use the left pinball flipper button on the left side of the cabinet to insert coins, and then press the white start button(s) with men on them to play. If a game only used 1 button, then it will always be button 1 closest to the joystick. If a game uses 2 buttons, then it will add button 2, and so on.
- To Exit a game, HOLD the left pinball button and press the Player 1 Start button.
- Atari 2600 Games (see image): The Player 1 Start button acts like the Game Select button (usually used to change the game mode), the Player 2 start button acts like the Game Reset button which means the Player 2 Start button is the Start game button. So for 2-player games you would use Player 1 Start button to select a 2-player game mode, and then start the game with the Player 2 Start button. Button 1 is the only button needed to interact in the games once you've started.
- VOLUME: The primary way to adjust the sound is the sound adjustment found on the back of the front door (next to the coin door, see pic). There is a green light on the control when it has power and is switched on, the volume power on/off switch is located on the front of it near the headphone jack. (See the Advanced Operation section below for other ways to adjust volume if needed.)
- When you are all done playing, you can leave the cabinet running, or Tap (don't hold) the power button on the front of the PC and allow the PC to fully shut off. Then you can optionally turn off the main power on the back of the cabinet (or a power strip if you are using one). You can leave the main power on if you expect to play again in a few days, or power it off if you won't be playing again soon. See Advanced Power Options for other power options.
- See full list of other commands listed below.
Maximus Arcade GUI Button Layout:

| Function: | X-Arcade |
| Scroll Up | Joy Up |
| Scroll Down | Joy Down |
| Scroll Left | Joy Left |
| Scroll Right | Joy Right |
| Page Up | Joy Left |
| Page Down | Joy Right |
| Page Up Letter | Button 2 |
| Page Down Letter | Button 5 |
| Select | Start 1 or Button 1 |
| Previous Menu | Button 4 |
| Insert Coins (in game) | Left Pinball button |
| Start Game (after coins inserted) | Start 1 or Start 2 |
| Exit Game (return to Maximus) | Left Pinball + Start 1 |
| Master Volume | Volume control is on the front door inside. |
| Raise Volume* | Hold Start 2 + Joy1 Up |
| Lower Volume* | Hold Start 2 + Joy1 Down |
| Favorites* | Button 3, then press Select Button |
| Add Favorite* | Button 6 |
| Put PC to sleep* | Hold Start 2 + Press Right Pinball |
| Reboot PC* | Hold Start 2 + Press Left Pinball |
![]()
*Disabled when in Presentation Mode.
Advanced Operation:
- SOUND: The primary way to adjust the sound is the sound adjustment in the coin door opening. While outside of a game (in any menu) you can also hold the Player 2 Start button and move the Player 1 joystick up and down to raise and lower the volume even more.
Alternative Volume control: If you need it to go louder still, go to options in Maximus by pressing RCtrl+P (Right-Control + P) while in a menu (not in game), then go to the Controller tab, then the Menus subtab. Next to Volume menu put in a value (for example the letter v). Save that when it asks (overwrite original), and now when in a menu press the v key to open the volume menu. You can press left and right on the arrow keys to adjust volume, v key again to close the menu.
For MAME games you can adjust the volume by pressing the ' key (key above Tab key normally) and adjust using left/right arrows on the keyboard. For some games (such as Rampage World Tour and Mortal Kombat games), the - and = keys can be used to raise or lower the in-game volume. - Dragon's Lair -, how to play: You only use the joystick and button 1.
- Screensaver and Sleep settings.
- Adding MAME™ Arcade Game ROMs
- Reassigning a Games Controls
- Q*Bert is a 4-way game where the joystick was mounted in an X mount. There is no way in MAME to make a diagonal (in other words 2 keys pressed at once) to be a direction to compensate. So to play it you will want play it with that in mind, Up=up-right, Down=down-left, Left=up-left, and Right=down-right.
- For any games that say "Reset to Factory Defaults" or similar, simply hit the F2 button on your keyboard. You will only have to do this once.
- Advanced Power Options for X-Arcade Cabinets
- Adding a game console
- To delete the game save states and delete all of your games high scores, hold the Player 2 Start button (or 2 on your keyboard) and press End on your keyboard.
- Backup: If you wish to create a backup of your arcade software in case something should go wrong, you only need to back up the folder C:\Max 2.10\ to an external hard drive.
Troubleshooting
- If the light on the control panel is not illuminated, the joysticks and buttons will not work. Make sure the serial connection is connected firmly to the back of the control panel inside, and that the USB connection (with purple end next to it) is plugged into a USB port on the back of the PC, and if it is unplug it and plug it back in again. (if this continues to happen see solution here).
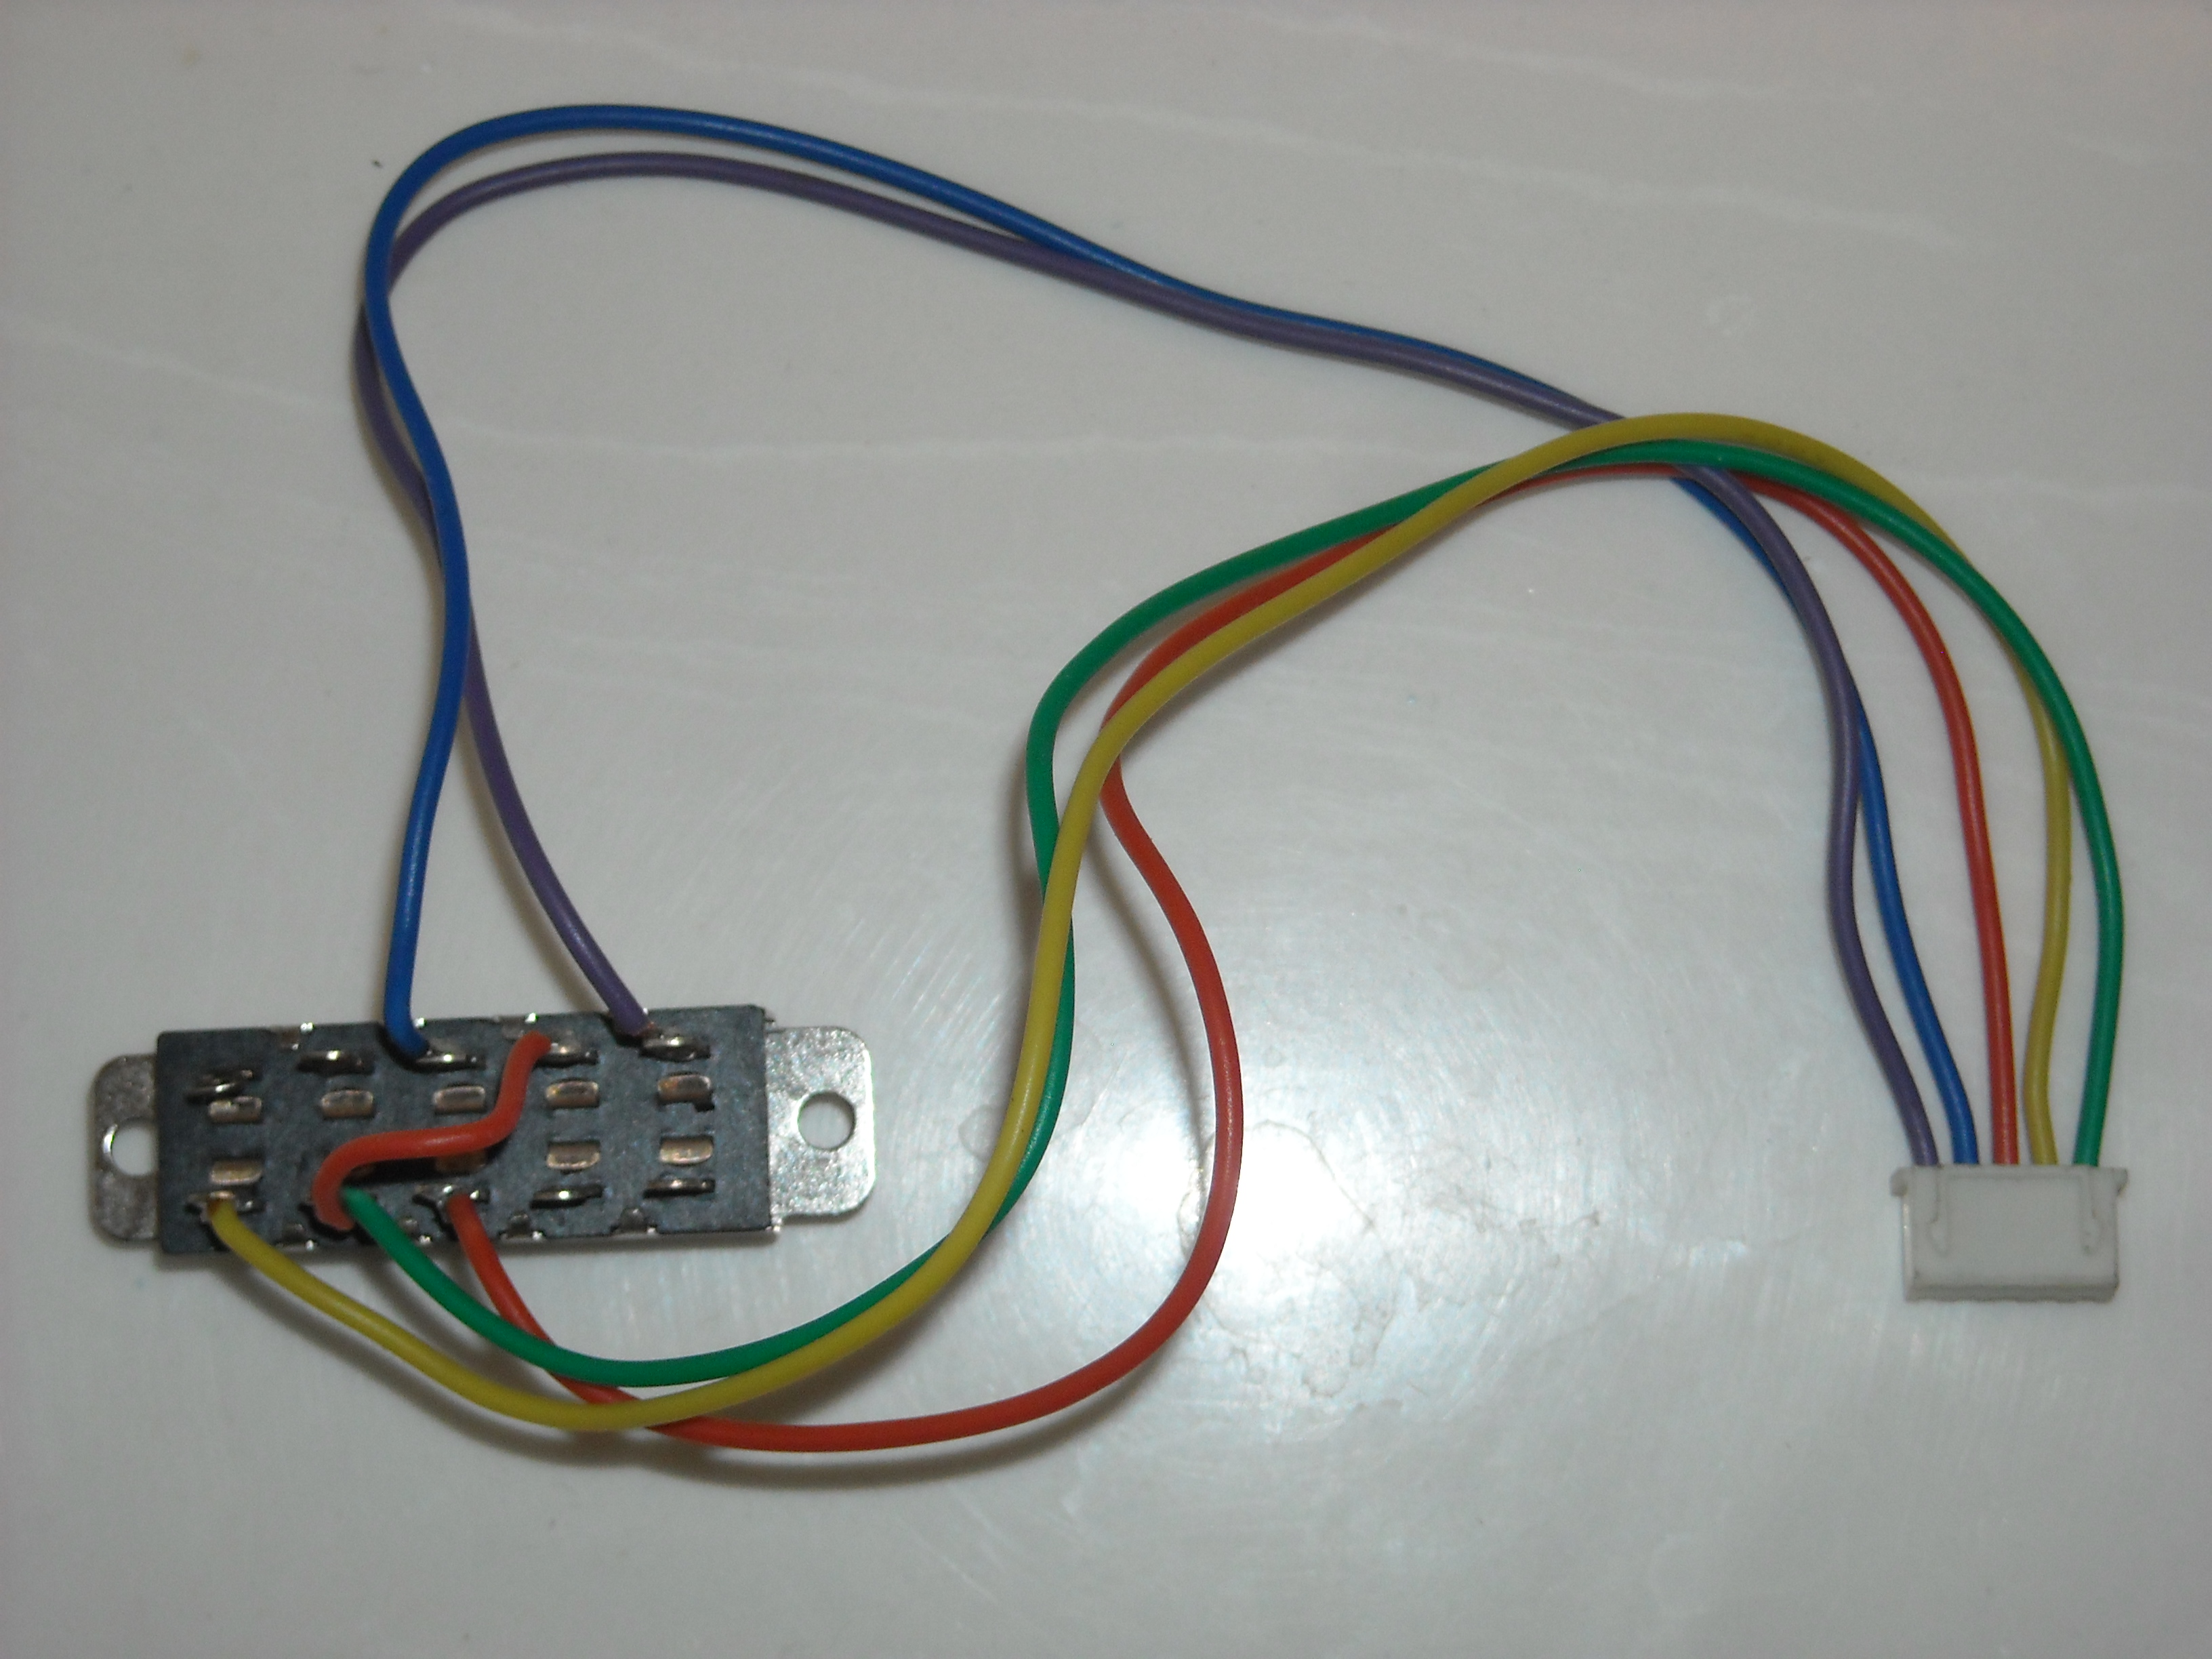
- If player 1 Start button is acting like Player 2 start, you will want to move the sliding programming switch inside the control panel to mode 1 (closest to the yellow wire).
- NO SOUND: The primary way to adjust the sound is the sound adjustment found on the back of the front door (next to the coin door, see pic). There is a green light on the control when it has power and is switched on, the power on/off switch is located on the front of it near the headphone jack. Make sure the power is plugged into the subwoofer in the rear and that the power switch is on. Also check to make sure you have the green audio cable plugged into the green audio port of the PC (typically the center port). If the sound jack is plugged in while the PC is on, you will need to reboot it before it will work. If you still have trouble, exit to Windows and make sure the PC is not muted.
- Video is cut off at the top and bottom: While outside of a game only, hold the Player 2 Start button (or 2 on your keyboard) and press F2, and then try a game again.
- The PC is rebooting or sleeping when trying to play: Notice the function list above has commands for rebooting the PC or putting it to sleep. Either you are pressing this combo, otherwise check again that the Tankstick controller switch on the back is in Mode 1 (farthest right when facing the cabinet).
- To test your controller, first run the game Dragon's Lair from the Daphne menu, hold the Exit button and press T on your keyboard. When done testing, press Escape on your keyboard to go back to the game software, then use the exit game button as usual to go back to the list of games. - Alternative method: Exit Maximus to Windows; while in the menus (not in a game) on the keyboard hold Right Ctrl and press Q. The test program is on the desktop.
- Invalid Locations error message on boot.
- If you upgrade Windows (not recommended) you will need to reinstall the registry file to make Maximus boot with Windows. To do this, exit Maximus to Windows by holding Right Ctrl and pressing Q on the keyboard. Then you will need to go to the directory "C:\MAX 2.10\! Restore Default Prefs\" and run the file called "Registry Shell". You will also need to re-input the Maximus Registration code.
- If the game is being cut off at the top or bottom of the screen, simply use the monitor controls to adjust the screen size. The PCB for adjusting the monitor controls can be found on the back of the coin door, and it works like adjusting any PC monitor.
- Fan: The fan is meant for industrial use and can be loud, but it is not necessary for your home arcade. If you want to disable it, first make sure the cabinet is unplugged, then remove the clear plastic shroud and disconnect one of the connectors from the fan itself. Be sure to put the shroud back on before plugging it back in. Cabinets shipped after Aug, 2014 have the fan pre-disconnected.
- Screen is flipping sideways or upside-down when I play?
- No Power or complete power loss: Make sure the power switch on the back of the cabinet is on, as well as the power strip inside. In the AC Inlet on the back of the cabinet there is a fuse holder between the rocker switch and AC Inlet. There are 2x 250V 10A 20mm fuses in this holder, one is a spare. It's important to get a flat head that goes under the lip and that you bring it from the side that is in the pictures.
- Door Adjustment: If your cabinet door is rubbing or difficult to open/close you can adjust the hinges multiple ways to better align it. Here is a video explaining how to do so. It only takes a very small amount of adjustment.
- Scratches: Here's the numbers needed to get some touch-up paint made for the blue wood.
- X-Arcade™ Control Panel Manual
- Marquees, Side Art, Overlays, etc.
- X-Arcade Coin Door Manual
- Video Converter VGA Box Manual - StarTech AVLink/Video Game Jockey VGA Box Manual
 - Spec Sheet
Adding A Game Console
To add a game console to your cabinet, you will need to purchase some other items. You will need to convert the video of each console from HDMI or AV/S-Video to VGA, along with the sound.
You will need the following to accomplish this:
- Console X-Adapter for whichever console you wish to use.
- A Serial Switch Box for switching controls between the PC and any consoles.
For a game console with HDMI output:
- An HDMI-VGA adapter with audio. Here is an example that we've tested that worked for us. For PlayStation 4 you will need to disable HDCP.
- A VGA Switch Box with audio. We've tested this 2 port one, and this 4 port one if you want to use more than one console. (Alternative, we've not tested)
- 1x VGA Cable to connect the PC to the VGA Switch Box.
- 1x VGA cable for each console you add, to connect between the HDMI-VGA adapter and the VGA Switch Box.
- 1x Male to Male Stereo 3.5mm Audio Cable to connect the PC audio to the VGA Switch Box.
- 1x Male to Male Stereo 3.5mm Audio Cable to connect between the HDMI-VGA adapter and the VGA Switch Box.
- Be sure to set the console to the lowest resolution before connecting it into the cabinet.
For a game console with A/V or S-Video only:
- The Startech Video Game Jockey has been thoroughly tested and works great to switch the video/audio between a single PC and console. They are no longer in production however, so the cost is inflated for the remaining stock. The Mode button on the Video Game Jockey switches the video/audio between a console and the PC, when the light is on it is in console mode and off is PC mode. The S/C button changes between S-video and composite video, this should be set to s-video (button popped out). StarTech AVLink/Video Game Jockey VGA Box Manual - Spec Sheet